Sunday, May 28, 2017

Putting an End to Beader’s Block?

Greetings, beaders! I have been putting off a return to the blog for quite some time, mainly because I haven’t been certain for many weeks whether or not I would continue to make things or write about them on a regular basis. The good news is that if I don’t get started now, I will have too many projects to update on, and some things will have to be left behind. Since we can’t have that, it’s time to start catching up.

For the last several months I’ve been completely laid out with the worst case of beader’s block I’ve ever experienced. It would be appropriate to call it complete creative burn out. The last couple of years were very busy around here, both creatively and life-wise. In the past I’ve had a lot of success in challenging myself to write and create every day, but this time around it spelled certain doom for my beads and I. After taking a break in December to work on personal projects, I simply couldn’t bring myself to make anything new. I felt overwhelmed by obligations and underwhelmed by inspiration. I had a terrible case of the don’t-wannas. I couldn't even find the energy to check my emails everyday. It was all too easy to fall into a new routine where I could relax, nap, read, or binge-watch whenever I wanted. I have to admit that I was enjoying the down time a lot. Part of me was very worried that I might not ever want to do beadwork again.

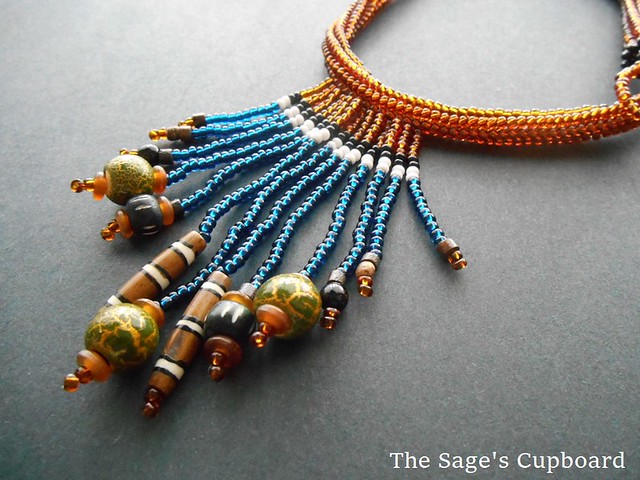
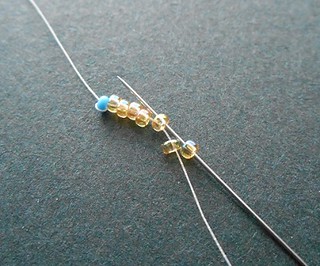
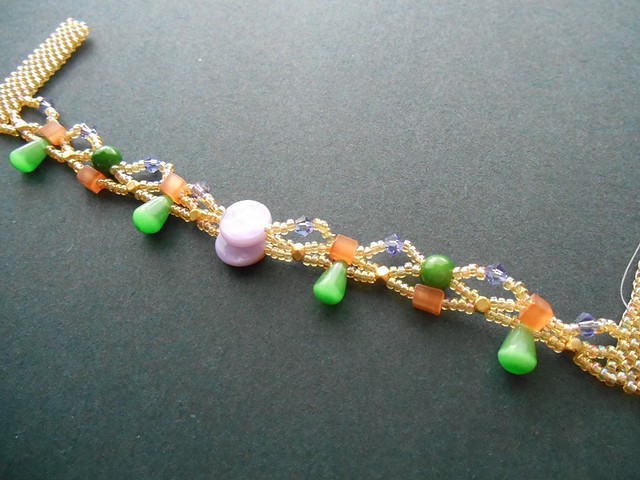
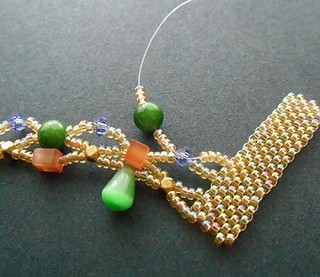
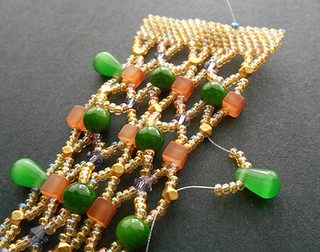
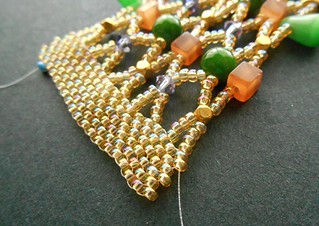
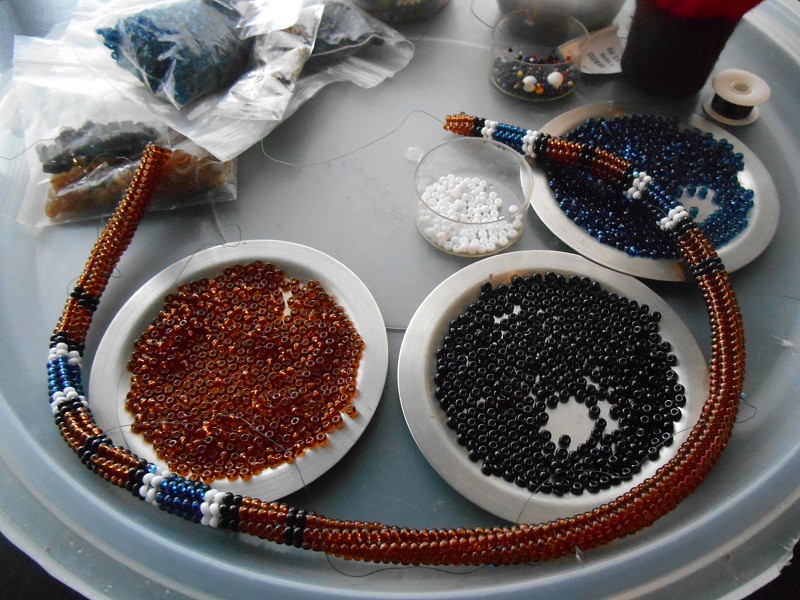
At first I thought I just needed a change of pace, so I put away the spiral rope necklace that I was working on and tried to reboot. Unfortunately no new projects really came to mind. I did a bit of an assessment and decided that I needed to cull some of my pursuits so that I could focus on what I really wanted to do. The first step was to deactivate my jewelry shop. This was hard to do at first, since I’ve put so much effort into it over the years, but I knew that the obligation of maintaining it was draining my energy. When I did my taxes and saw my revenue for the year, any regret I felt vanished. It was time.


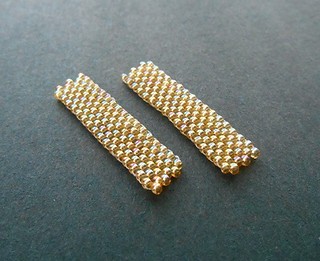
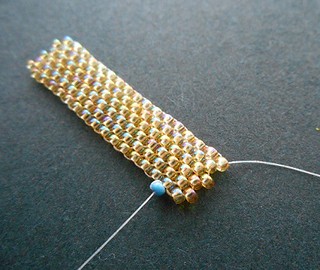
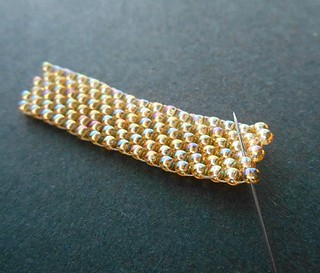
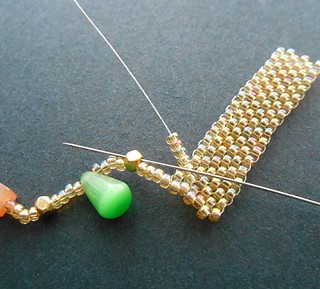
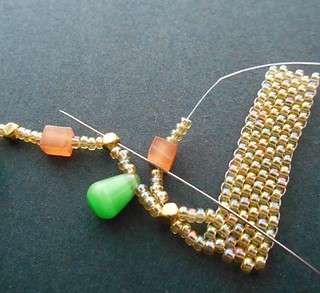
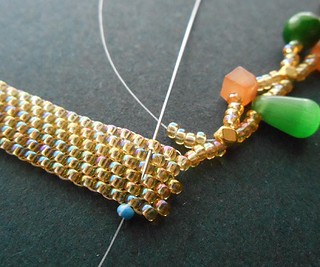
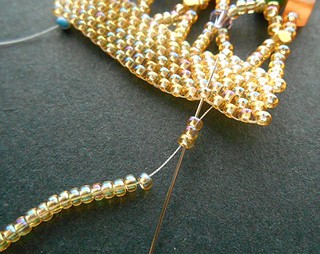
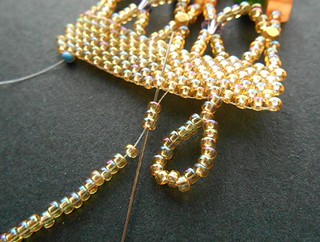
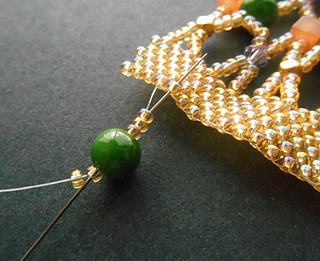
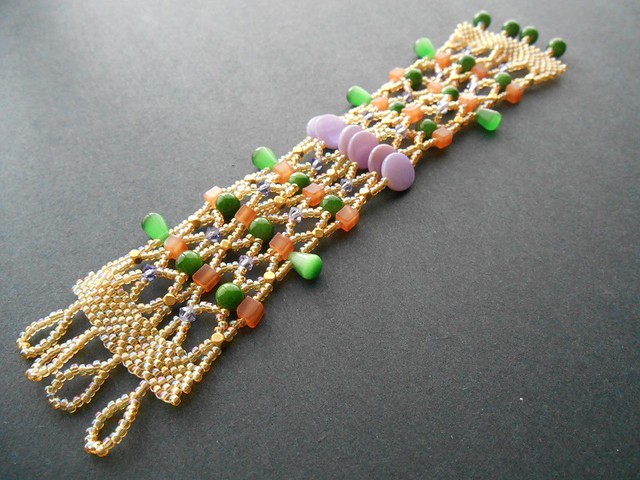
Although I did feel a lot lighter after dropping that ball and chain, I still didn’t have a lot of desire to create. My next step was to unpack all of the jewelry from my shop and set it up in my own wardrobe. I was hoping for a boost of inspiration there, but it actually had the opposite effect. If I wasn’t creating for the shop anymore, I would end up wearing anything I made, and now I had more jewelry than I could ever need. It has been absolutely fabulous to be able to wear all of my favorite pieces, and after a few weeks I realized that there were a few things I wouldn’t mind having more of – especially if I could design them just for my own personal style. I pulled out some beads to make a new cuff bracelet in my favorite color and pattern – green with black and white stripes – but I got bored after only an inch of work. I was still too attached to my new routine and the design just wasn’t juicy enough to keep me at my workspace.


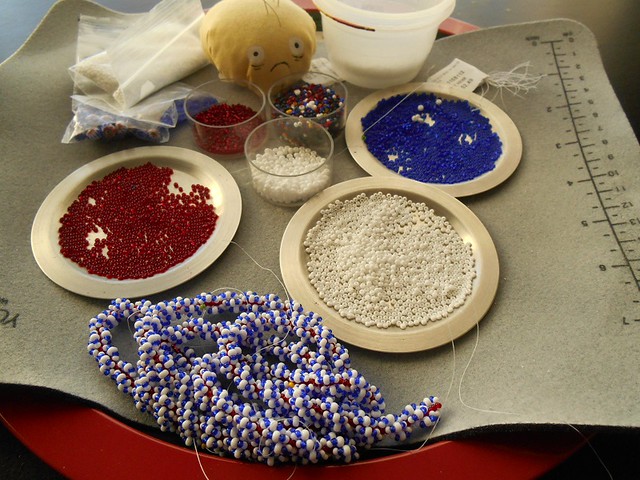
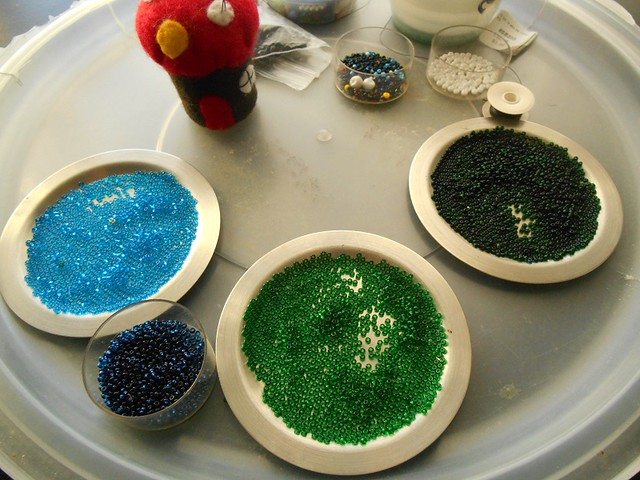
I tried looking through some of my bead stash to see if my favorite materials would spark a little inspiration. Now that I could do anything that I want with the beads, I hoped that I would remember a design idea that I denied myself in favor of the shop. Nothing seemed to speak to me. I had almost lost hope in finding my bead groove again when something totally unexpected happened. I was able to acquire a new handbag for just a few dollars, and the plain black and white design cried out to be embellished. On a hunch, I took out one of my Beadsmith needles and pushed it through the material to see what would happen. It was like stitching through butter. That night I had all of my favorite seed beads and coins spread out on the table and a palette came together.


I decided to go with a freeform design using lots of concentric circles, so I could just go with whatever I was in the mood for at the moment. I wanted to see how the overall design would evolve from one beading session to the next. I worked on the bag every night for several weeks before I started to tire of it. But before I could lose the beading groove, new inspiration struck! While watching an old kids movie from the 80’s, I recalled a character whose wardrobe included about a hundred rubber vending machine bangles, and how badly I had wished such a look for myself. I had never really gotten around to purchasing or making something like that, but now that I had all of my beads and time to myself, I realized I could go ahead and make absolutely anything that I wanted.

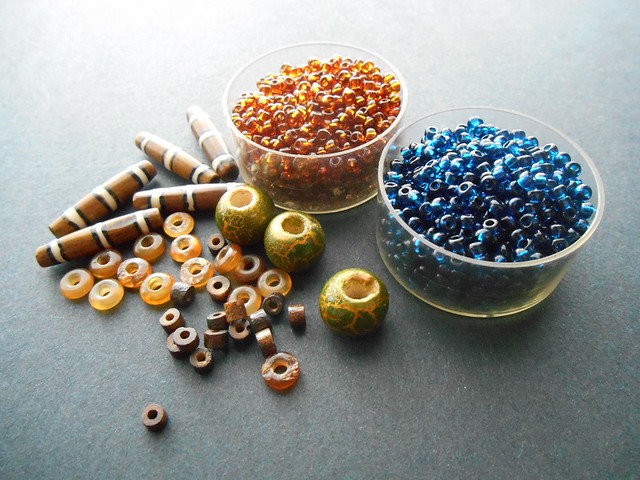
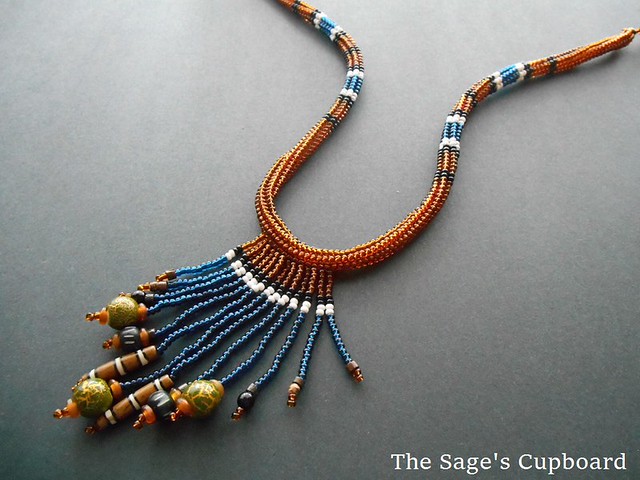
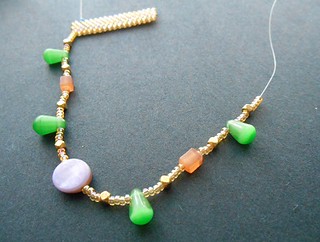
I cleaned off my second bead tray, which made it necessary to start a Work in Progress stash so that I could store the forgotten cuff for later. Then I went through my 8/o seed bead stash and picked out a palette of blues and browns, with some black and white stripes for good measure. Using stretch cord, I made about 14 mini bangles – not quite the quantity that I was inspired by, but I definitely like the look of them all slouched together like one big cuff. This inspiration lead to a few others, and now I’ve got three projects on the go, all of which I think I’ll be able to finish without any hiccups.


It feels great to have things mostly back to normal, although I have mobilized my workspace so that I can hunker down on the sofa. Netflix-and-bead time is a lot more enjoyable when I’m not hunched over my laptop. I can’t promise that I’ll ever get back to my previous writing schedule, but I will be sure to document this new beading journey.

What have you been working on lately?

Mortira

Subscribe * Facebook * Google+
Send your beading questions to InspirationalBeading@gmail.com
Support Inspirational Beading with Patreon

Copyright 2017 Inspirational Beading


Saturday, December 10, 2016

Work in Progress: Spiral on the Side

My new ideas and inspirations are on the back burner for the next couple of weeks as I work furiously on some top-secret Christmas presents. I have several projects on the go this year, including a lot of sewing and painting that will be keeping me up late at night. When I do get a little time to bead, I'm planning to add a stitch or two to the spiral rope necklace that I started and gave up on a while back. I've almost run out of the cobalt blue seed beads, so hopefully the rope will finish up at just the right length. If all else fails I can make the fringe on this one extra long.

Spiral Rope Necklace in Progress


Now that I have two bead trays on the go, it's a lot easier to just set something aside for later, rather than go to all the trouble of packing things up and then hauling them out again when I decide to finish a piece. Right now I'm grateful for the option! Of course, I haven't been keeping up with my commitment to put away beads and materials when I'm finished with a project, although I have been able to keep packages of beads contained to one area of my workspace so that I'm not drowning in them. It will be time for a big clean-up very soon or I'll start to have trouble finding what I need - perhaps I'll get around to it when the paper mache stage of my holiday projects comes around. Otherwise I might just stuff everything into a space in the closet until January.

Blue Green Egyptian Collar in Progress


My number one bead tray is looking pretty tidy at the moment. I just put the finishing touches on a new collar with a double mythology inspiration, which I will unveil very soon. In the meantime I'm doing some research on all-new icons for inspiration in the new year.

What are you making right now?

Mortira

Subscribe * Facebook * Google+
Send your beading questions to InspirationalBeading@gmail.com
Support Inspirational Beading for bonus tutorials and more! Powered by Patreon

Copyright 2016 Inspirational Beading


Friday, December 2, 2016

The Lady of the House

Ask anyone who their favorite Egyptian goddess is, and most people would probably say Isis or Hathor. These dieties known for motherhood, healing, love, and protection long outlasted their original culture and continue to be an important part of spirituality and feminity to this day. This is an impressive achievement when you consider that they were competing with hundreds of other gods and goddesses. Throughout 4000 years of Ancient Egyptian culture, many religions, cults, and legends were incorporated into the pantheon and worshipped in the home, alongside the same dieties that we can still see depicted on the walls of ancient tombs. The names and identities of many Egyptian goddesses have been lost to time, but the daughters of Ra, and the children of Nut and Geb continue to thrive in their own way.


My favorite goddess is Nephthys - sister of Isis and wife of Set. Her name means "Lady of the Mansion" and she was the Ancient Egyptian goddess of death. Not to be confused with Anubis, the god of embalming, or other death gods with morbid and shadowy backstories, Nephthys was as much a goddess of healing and protection as her sister. In Ancient Egypt, life, death, and rebirth were all linked; Nephthys represented the realm were all things living and dead are one. This concept can be very comforting, especially when one feels disconnected from their peers or the world around them. We are all made from the same atoms, and Nephthys embodies that notion perfectly.

The Inspiration:

The realm of Nephthys was the place where the fertile waters and silt of the Nile met the harsh and inhospitable desert - a margin between abundant life and bleak death. She was the place were bodies become soil, and soil nourishes bodies in a neverending circle. When I picture Nephthys I always think of a goddess that is poised and regal, while also having a smoldering vitality. She is the combination of solemn death and the never ending resilience of life. She is birth, death, regeneration, and evolution all rolled into one.

In making a new tribute piece to Nephthys, I wanted to incorprate the earthy colors of biomass such as greens, browns, and black. This time I also wanted some rich blue to represent the water that connects all living things. For this project I started by combing through my stash to find pieces that had the right look to represent the lady of death, and tried to picture them together until a design took shape. I also wanted to be sure that the piece would turn out right on the first try, so I decided to go with my favorite fringe. This would allow me to pull lots of different accents together, and add some stripe patterns to keep things looking Egyptian.

Nephthys Beads


The Beads:

For the base beadwork I chose transparent dark topaz and Montana blue sapphire seed beads in size 8/o. These were my earth and water elements, and they contrast each other with perfect sophistication. I also included some black and white seed beads for borders and stripes, though I hadn't yet decided what type of pattern I wanted to use.

For accents I had so many wonderful choices, but in the end I went with bone tubes, crackle finish wood, amber horn heishi beads, and sono wood tubes. These beads all had the color, texture, and light that I wanted in this piece. I was particlarly exited to use the green wood beads from Blueberry Cove, which so perfectly represented Nephthys' home on the Nile. I was in the mood for even more texture, so I later added batik bone beads in black, jet black druks, and some tiny natural coconut rounds to the mix.

Nephthys Necklace 1


The Beadwork:

Few things are easier than creating something from your favorite inspiration, and this project certainly fits that description. The pattern and the fringe just came together, and the work seemed to go by in a flash.

For the rope, I used black to border the brown sections, and white to border the slightly darker blue portions. To break up the rope a little, I added smaller blocks of brown between each of the striped sections. This is a little bit different from any of the patterns that I've used before, and not exactly traditional, but I love how it turned out. I repeated the pattern somewhat for the fringe, connecting it at the edge with brown, then finishing with a cascade of more Montanta blue sapphire. I really love working with this color in any type of bead, and it never disappoints.

Nephthys Necklace 2


Do you have a favorite figure from mythology? How do they inspire your work?

Mortira

Subscribe * Facebook * Google+
Send your beading questions to InspirationalBeading@gmail.com
Support Inspirational Beading for bonus tutorials and more! Powered by Patreon

Copyright 2016 Inspirational Beading


Wednesday, November 30, 2016

Tutorial: Golden Tapestry Netted Cuff Bracelet

Golden Tapestry Cuff Bracelet Project

Netting is one of my favorite beading techniques because it is simple, medidative, and creates such beautiful collars. The method of connecting beads together in nets has been around for thousands of years, and was even used by the Ancient Egyptians - chances are you've seen photographs of the beautiful faience bead 'gown'. Netting in some form can be found in the beadwork of many cultures, sometimes with elaborate patterns and lovely layers. Though it does have some basic structural limitations, the spacing of the beads allows for many variations in netting, including the addition of accents in many sizes.

This super easy 'tapestry' cuff project was inspired by the Geometric bead box from Blueberry Cove Beads. This has been my all time favorite bead collection so far this year. When I pulled out all of the lovely beads in the inspiration box, I was struck by how wonderful each of the individual pieces was. The shapes and colors are each unique and beautiful in their own way, but when combined they create a gorgeous tapestry.

The harmony of combining beads together is one of the things that makes it such a rewarding art form, and this project is a great example of the way that you can easily mix together elements that might not seem matched at first sight.

Blueberry Cove Beads Geometric Inspiration Box
Blueberry Cove Geometric Bead Box


Some of my favorite pieces from this set include the pretty purple mother of pearl coins, and the orange cat's eye cubes. Individually the beads are wonderul, and though they are different in every way, I knew that I could mix them together to make a gorgeous piece of jewelry. I added tiny gold hexagon beads to the palette from the Geometric box, and some green glass rounds and drops from the Rainforest bead box as well. Transparent topaz seed beads and purple crystals from my stash rounded out the palette perfectly.

If you don't have similar materials in your stash, try combining some of your favorite accents together. The pattern will work with just about anything 6mm and smaller - just be sure to leave room for the size and shape of each bead that you add: the coins in the project are used as a focal since they can overlap each other nicely along a single row, but the other beads sit snugly side by side. Once the netting is complete, the beadwork will have a wonderfully chunky texture. If you like your bracelets extra slinky, use waxed beading thread in place of the Fireline.

Golden Tapestry Cuff Harmony Palette


Materials:

10 yards 6lb test Fireline (crystal)
5 grams size 11/o seed beads (transparent topaz)
6 x 10mm mother of pearl coins (purple)
6 x 6mm glass drops (green)
18 x 5mm glass cubes (orange)
16 x 6mm glass rounds (green)
16 x 3mm crystal bicones (purple)
24 x 3mm hexagon beads (gold)


1. Attach a stop bead to a comfortable length of Fireline, leaving a 6 inch (15 cm) tail. Pick up 6 seed beads, and slide them down to the end. Pick up 1 seed bead, and begin stitching an even-count peyote panel. Continue working until your panel is 19 beads wide. Weave in and trim both threads. Create a second 6 x 19 peyote stitch panel and weave in the threads.


2. Attach a stop bead to a new length of Fireline, and weave into one of the peyote strips, exiting from a corner up-bead. Pick up 4 seed beads, and 1 hexagon bead. Continue stringing accents with 4 seed beads between each: add 1 drop, 1 hex, 1 cube, 1 hex, 1 drop, 1 hex, 1 coin, 1 hex, 1 drop, 1 hex, 1 cube, 1 hex, 1 drop, 1 hex. Finish with 4 seed beads.


3. Stitch up into a corner up-bead on the second peyote strip, and weave up through the following bead. Pass back down through the adjacent bead and the following bead to exit the panel. Pull snug.

4. Flip the beadwork. Pick up 4 seed beads, and stitch up through the last hex bead added in the previous row.


5. Pick up 4 seed beads, 1 cube, and 4 seed beads. Stitch up through the next hex bead of the previous row.

6. Continue adding accents with 4 seed beads to either side, passing through the hex beads to secure them: add 1 round, 1 cube, 1 coin, 1 cube, 1 round, and 1 cube.

Netted Bracelet TutorialTapestry Cuff i


7. To complete the row, pick up 4 seed beads.Stitch into the 3rd bead of the peyote strip, leaving one bead between each of the netting rows. Stitch through the following bead in the strip, and then turn as in step 3 to begin the next row.


8. Pick up 4 seed beads, 1 crystal, and 4 seed beads. Stitch through the last cube bead added in the previous row. Continue adding crystals for the entire row, passing through each of the accents beads. Finish by stitching into the 3rd bead of the peyote panel and turning the thread as usual.

Netted Cuff Tutorial


9. Add 4 seed beads, passing through the last crystal added. Pick up 4 seed beads, 1 round bead, and 4 seed beads. Pass through the next crystal in the previous row.

10. Continue adding accent beads, using the opposite color/shape as the previous row, and a coin in the center. Finish the row and turn. In the following row, add all hexagon beads. Repeat the pattern until you have 5 rows with accents, 3 rows of hexagons, and 2 rows of crystals as shown.


Turn and exit from the last bead of the peyote panel to begin the final row.

11. Add 4 seed beads and pass through the last hexagon bead added in the previous row. Add 4 seed beads, 1 cube, and 4 seed beads. In the next stitch, add seeds beads and a glass drop. Continue adding the remaining accent beads, and finish the row with 4 seed beads. Weave in your threads and trim.


12. Weave across the peyote panel and exit from the fouth bead on the outside edge. Pick up 21 seed beads. Pass back through the first 3 beads again and into the 5th bead of the peyote panel. Pull snug.

Check the fit of the loop on one of your remaining glass rounds. It should be just big enough to slip over the bead smoothly. Adjust the number of beads in the loop if necessary, then continue weaving.


13. Weave through the peyote panel and exit from the edge, leaving a 2-bead space from the previous loop. Add a second loop with the same number of beads. Repeat to add two more loops, then weave in and trim the thread.

14. On the opposite edge of the cuff, position a new thread 4 beads from the end as before. Pick up 3 seed beads, 1 round, and 2 seed beads. Skipping the last seed bead added, pass back through all of the beads again, and into the 5th bead of the peyote panel. Pull snug.


Repeat this step to add 3 more toggles, leaving a 2-bead space between each. Weave in any remaining thread and trim.


This pattern will create a bracelet that is 6.5 inches (16.5 cm) long. To increase the length of your design, you can add additional seed beads to the nets - working with 5 seed beads per stitch instead of 4 will add about 1 inch (15 cm).

Golden Tapestry Cuff Bracelet Tutorial


Mortira

Subscribe * Facebook * Google+
Send your beading questions to InspirationalBeading@gmail.com
Support Inspirational Beading for bonus tutorials and more! Powered by Patreon

Copyright 2016 Inspirational Beading


Wednesday, November 16, 2016

Work in Progress: Progress in Work

I am happy to say that I have found some new inspiration that will keep me going for a good long while. At the very least, I am excited to start making things again, and to share the ideas behind each project as I go. My very first project will return to a favorite place: I'm making a new necklace inspired by my favorite Egyptian goddess, Nephthys. As someone who has long been fascinated by the science of death, I found an instant connection with Nephthys when I first read about her. She embodies the realm where life, death, and rebirth meet in the Ancient Egyptian understanding of the universe. At times she was also considered to be the mother of Anubis, and helped in the creation of the first mummy.

Nephthys Rope Necklace in Progress


I didn't want to risk making a copy of my last Nephthys design, so I decided to shy away from greens for this necklace. Instead I added Montana blue sapphire to my palette for a chunky herringbone rope. When it comes time to add some fringe, I may regret going with a twisted rope, but we'll see how things turn out. I'm finding a lot of comfort in making a tribute to "The Lady of the House", and even if it doesn't quite work out perfectly, it'll be worth it.

The peacock dagger collar turned out quite nicely. I was so excited to get started on Nephthys that I had to force myself to complete and add the button for this piece. Luckily, it only took one beading session, and I thought it was important to finish at least one project before starting this new adventure.

>Peacock Collar


What inspirations are empowering you at the moment?

Mortira

Subscribe * Facebook * Google+
Send your beading questions to InspirationalBeading@gmail.com
Support Inspirational Beading for bonus tutorials and more! Powered by Patreon
Dear Artists

Copyright 2016 Inspirational Beading


Blog Widget by LinkWithin
Fire Mountain Gems and Beads

Inspiration Topics

accessories amulet Ancient Worlds Modern Beads animals April's Army art ArtFire astrology astronomy autumn awards awareness bangle beach Bead Inspired Bead Shops bead soup bead spotlight bead stash Bead Trays beaded beads beading theory beads belt bezel birthstones black blog spotlight blue boho bone book spotlight bracelet Bracelet A Week branch fringe brick stitch brown bugles buttons cabochon ceramic chain maille challenge charity chevron chain christmas collar Collections color Color Ideas color triads conservation craft shows crafts crochet crystals cuff Culled Beads current events Current Faves daggers Daily Sets daisy chain Delicas Destash drops Dutch spiral earrings Egypt Egyptian Gods embellishing embroidery environment etsy exotic fair trade fantasy fashion Favorite Beads Favorite Techniques feminine fibers film findings fire polish fixtures Flashback Test flickr inspiration flowers food found object free form fringe Geek Jewels geekery gemstones geography giveaway glass gold gray Greece green herringbone hex cuts history holiday home decor insects inspiration tip inspired beader Inspired by... Inspiring Links ivory Jewelry Stash knitting ladder stitch lampwork lariat leaf fringe leather lights literature loomwork macrame magatamas Master Class Medallions metal free metalwork Mini Collar a Week mixed media mixture Mood Board MOP multi-color multi-strand music natural beads nature necklace Necklace a Day Nepal chain netting New Beads ocean ombre orange paint paper patterns pearls pendant peyote photography Picasso finish pink Pinspiration PMC polymer clay poster sketch purple quick inspiration rainbow RAW red resin ring Ring a Day rivoli Rome Russian spiral scarf science seed beads shell silver soutache spiral rope spring square stitch St. Petersburg steampunk stringing stripes summer tagua TBT The Elements thread Tilas Time Capsule tools trade beads triangle weave tribal tropical turquoise tutorial two-hole beads Ugly vintage Wear it Twice weather white winter WIP wire wishlist wood World Beaders yellow
Blog Home * About * Beading Tutorials * Advertise

Learn About Sponsoring Inspirational Beading with Project Wonderful
Affiliated With ShareASale.com and Amazon.com